The beam pattern on a light bar determines where the light goes, how far it reaches, and how useful it actually is for a given task. Flood, spot, and combo patterns each solve a different problem, and picking the wrong one means either losing distance or losing width when you need both. Understanding the optics behind each pattern makes the choice straightforward.
How Flood Beam Patterns Work
A flood beam spreads light across a wide horizontal arc, typically between 60 and 120 degrees. The optics behind this are simple: the LED lens is shaped to disperse light laterally rather than concentrate it forward. The result is broad, even illumination at close to medium range, usually effective out to 50 to 100 feet depending on the bar’s total wattage.
Flood patterns work best when you need to see what’s immediately around you rather than what’s far ahead. Camp setups, job sites, loading docks, and slow-speed off-road crawling all benefit from flood output because the wide spread eliminates shadows at short range. The tradeoff is that intensity drops off quickly with distance. Because the same number of lumens is spread across a wider area, the light at any single point in the beam is less concentrated than a spot pattern of equivalent wattage.
Flood bars are also more forgiving with mounting position. Because the spread is so wide, small adjustments in bar angle or height don’t dramatically change where the useful light lands. This makes them easier to aim in permanent installs where you can’t fine-tune position after the fact.
How Spot Beam Patterns Work
Spot beams narrow the output to roughly 10 to 30 degrees, concentrating lumens into a tight forward column. That concentration is what gives spot bars their reach. A 20-inch spot bar producing 10,000 lumens can throw usable light 400 to 600 feet down a trail or road, which a flood bar of identical wattage simply cannot replicate.
The optics use a focused or parabolic lens to redirect light from each LED into a tighter cone. Some spot bars use individual reflector cups per LED rather than a flat lens, which improves beam consistency and reduces the hotspot effect where the center of the beam is significantly brighter than the edges.
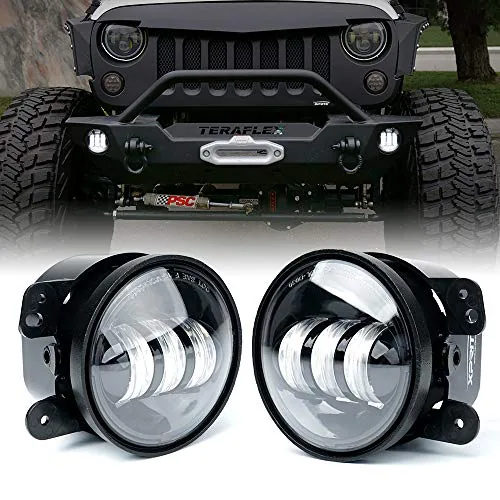
Where spot patterns struggle is in the near field. At distances under 30 feet, the narrow beam leaves wide gaps on either side, and anything off the central axis is poorly illuminated. High-speed highway driving, long straight trails, and scanning distant terrain are where spot bars genuinely outperform other patterns. Ditch lights mounted on A-pillars or the front of a truck often run spot patterns precisely because they’re aimed at a fixed distant zone rather than the immediate path (the coverage principles used in ditch light placement illustrate how beam angle interacts with mounting position). Using spot bars for general camp lighting or close-quarters work is a poor fit for the same reason.
Combo Bars: Shared Housing, Different Lenses
A combo light bar places flood and spot LEDs in the same housing, typically alternating them across the bar’s length or clustering spot optics in the center with flood optics on the outer sections. The goal is to cover both near-field width and far-field distance from a single fixture.
The practical result is a compromise in both directions. The spot section of a combo bar rarely reaches as far as a dedicated spot bar of the same length, because only a portion of the total LEDs are configured for distance. Similarly, the flood section covers less lateral width than a dedicated flood bar would. What you gain is versatility: one bar handles multiple scenarios without swapping fixtures.
For a vehicle that handles mixed terrain, moving from city streets to open trails to slow camp approaches, a combo pattern often makes more sense than committing to a single pattern type. The key spec to check on any combo bar is the ratio of spot to flood LEDs. A bar with 70 percent spot and 30 percent flood is effectively a spot bar with modest side fill. A 50/50 split gives more balanced performance. Manufacturers don’t always publish this breakdown clearly, so looking at the lens configuration in product photos is more reliable than relying on marketing descriptions alone.
Choosing the Right Pattern for Your Application
The decision comes down to what distance range matters most and whether the vehicle or mounting setup will carry more than one bar. Single-bar installs on a budget should lean toward combo if the use case isn’t fixed, since it covers the widest range of situations without requiring a second fixture.
Dedicated spot bars make the most sense when long-distance visibility is the primary need and something else, whether factory lights, pods, or a secondary bar, handles near-field coverage. Spot patterns paired with factory high beams can extend effective range significantly on dark rural roads or trails.
Flood bars are worth choosing deliberately rather than by default. They’re the right call when the terrain is technical and slow, when the bar is being used as a work light rather than a driving light, or when it’s supplementing a spot bar already handling distance. Snow plows, crane operators, and loading dock vehicles are typical flood-first applications.
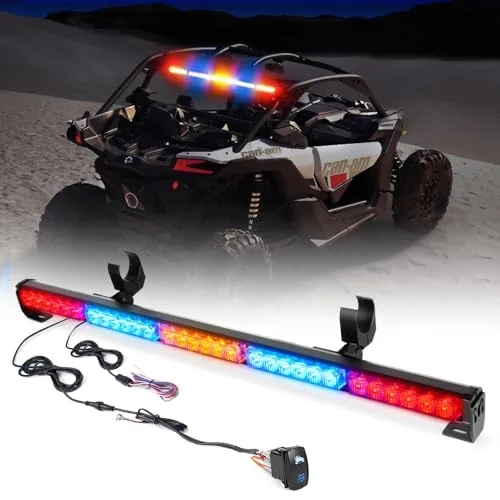
Beam angle spec alone doesn’t tell the whole story. Total lumen output, lens quality, and how the bar is mounted all affect real-world performance. A 60-degree flood bar mounted too high will throw light into the sky rather than onto the ground ahead. Chase light bar reviews cover how rear-facing flood patterns are applied in off-road and emergency contexts, which shows how the same optical principles translate across mounting positions.
Flood, spot, and combo patterns each have a defined role. Flood covers the near field broadly, spot reaches far with intensity, and combo splits the difference at the cost of peak performance in either direction. Match the pattern to the actual distance range your use case demands, check the LED ratio on any combo bar before buying, and treat mounting position as part of the optical system rather than an afterthought. Getting those three factors right determines whether the bar actually solves the visibility problem you’re trying to fix.
Affiliate Disclosure
This post contains affiliate links. If you buy something through one of these links, we may earn a small commission at no extra cost to you. We only recommend products and services we trust. Thank you for supporting this site!