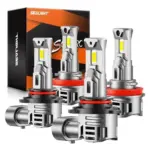
Swapping factory headlights for aftermarket units can trip warning lights on the dash within seconds of turning the key. The errors that show up most often are TPMS warnings and DRL fault codes, neither of which seems obviously connected to a headlight swap. The underlying causes come down to how modern vehicles monitor electrical load and communicate between modules, and understanding that makes the fix much clearer.
How Modern Vehicles Monitor Lighting Circuits
Factory headlight assemblies are engineered to draw a specific wattage from each circuit. The body control module (BCM) or a dedicated lighting control module monitors current draw on those circuits continuously. When the draw falls outside the expected range, the module logs a fault. This is not a passive fuse-based check; it is an active load-sensing system that samples current multiple times per second.
Halogen bulbs typically draw between 55W and 65W per side. LED assemblies, even high-output aftermarket ones, often draw 20W to 30W per side under normal operation. The BCM reads that lower draw as a failed or missing bulb, not as a more efficient replacement. The same behavior occurs with projector housings that use multiple low-wattage LEDs instead of a single halogen source. The module has no way to distinguish between a burned-out bulb and a low-draw LED; both register as an open or partial circuit.
The F-150 aftermarket headlight options illustrate this clearly, with several direct-replacement LED assemblies shipping with inline load resistors pre-installed specifically to prevent BCM faults on that platform.
Why TPMS Errors Appear After a Headlight Swap
TPMS warnings after a headlight installation look like a wiring error at first glance. The two systems appear completely unrelated. On CAN bus-equipped vehicles, however, they share a communication backbone. The BCM, ABS module, TPMS receiver, and lighting control module all transmit and receive data on the same network.
When an aftermarket headlight assembly introduces electrical noise into the system, it can corrupt packets on the CAN bus. High-frequency switching in LED driver circuits is the most common source of that noise. The TPMS module, which is polling for sensor data at regular intervals, misreads the corrupted signal as a missing or unresponsive wheel sensor and logs a fault code. This is especially common with cheap LED assemblies that use unshielded driver boards or no suppression capacitors.
Voltage spikes during LED turn-on events can also cause momentary CAN bus disruptions. At the moment the DRL circuit activates, an unfiltered LED driver can send a brief voltage surge back through the chassis ground. If the TPMS module is mid-transmission at that instant, the corrupted message triggers a fault that persists until the module is manually cleared. Installing the headlight assembly from a manufacturer that uses EMI-filtered drivers prevents this entirely.
DRL-Specific Fault Codes and What Causes Them
Daytime running light circuits on most vehicles built after 2012 are managed separately from the main headlight circuit. The DRL module controls brightness through pulse-width modulation (PWM), ramping LEDs up to a set duty cycle based on ambient light sensor input. Aftermarket assemblies that use their own internal PWM controllers conflict directly with the vehicle’s output.
When two PWM signals try to control the same LED driver simultaneously, the assembly behaves unpredictably: flickering, partial output, or complete failure to illuminate. The DRL module reads that behavior as a hardware fault and logs a code, often C1931 or a platform-specific equivalent. Clearing the code without addressing the signal conflict just brings it back within a drive cycle.
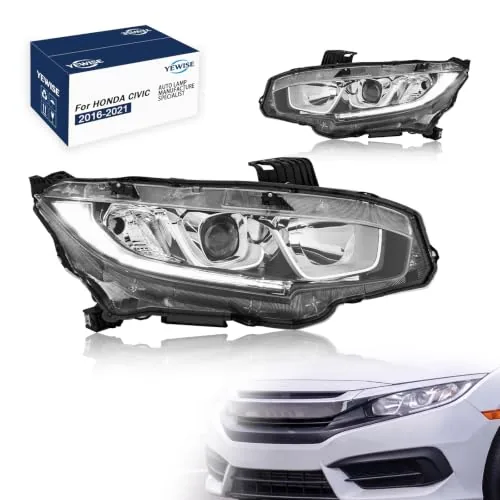
Some aftermarket assemblies wire the DRL function through the parking light circuit instead of the dedicated DRL line. That workaround can pass the DRL module’s output check while creating a conflict on the parking light circuit, triggering a separate fault. The only reliable fix is an assembly engineered to accept the OEM PWM signal directly (see the Honda Civic aftermarket headlight guide for how this plays out across specific trim levels where the DRL circuit varies by year).
Practical Fixes: Resistors, Decoders, and Proper Grounding
Load resistors are the most common correction for current-draw faults. A 50W 6-ohm resistor wired in parallel with the headlight circuit raises draw back into the range the BCM expects. The tradeoff is heat: a 50W resistor gets hot enough to melt plastic if mounted incorrectly, so placement matters. Aluminum mounting to a metal surface away from wiring looms is standard practice.
CANBUS decoders are a better solution for vehicles that log both load faults and communication errors. A decoder sits between the vehicle harness and the aftermarket assembly, corrects the load signal, and filters electrical noise before it reaches the bus. Quality varies significantly across brands; units with integrated EMI suppression outperform basic resistor packs on CAN-heavy platforms.
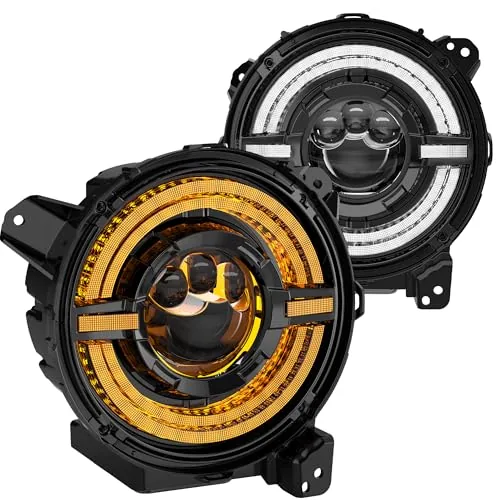
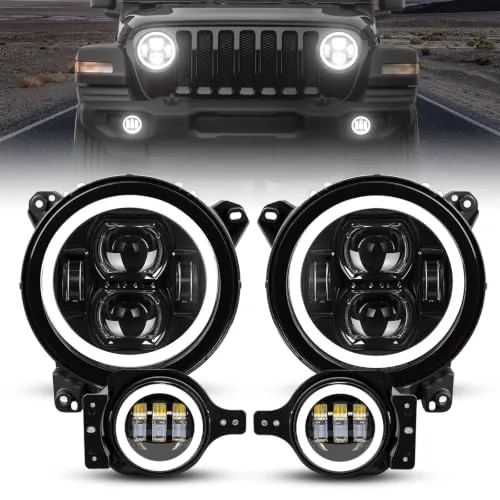
Grounding is the step most installers skip. Aftermarket assemblies often rely on chassis ground through the mounting bracket rather than a dedicated ground wire. On vehicles where the bracket-to-chassis connection is painted or corroded, that path creates enough resistance to cause voltage instability across the LED driver. A direct ground wire from the assembly to a known-good chassis point eliminates that variable. For platforms where headlight swaps frequently require resistors and upgraded grounding together, the Jeep Wrangler JL headlight replacement process documents the most common failure points across the JL’s specific wiring architecture.
TPMS and DRL fault codes after a headlight swap almost always trace back to load mismatch, CAN bus noise from unfiltered LED drivers, or PWM signal conflict on the DRL circuit. The errors look unrelated to headlights, but the electrical connection is direct. Addressing the root cause, whether through proper resistors, a CAN decoder, or a correctly engineered assembly, clears the faults permanently. Clearing codes without the fix just resets a timer until the next drive cycle brings them back.
Affiliate Disclosure
This post contains affiliate links. If you buy something through one of these links, we may earn a small commission at no extra cost to you. We only recommend products and services we trust. Thank you for supporting this site!